-
Step 1: Confirm the exact model number, not the description
-
Step 2: Measure before you trust the catalog
-
Step 3: Document the failure mode before buying parts
-
Step 4: Drain the oil and look for clues
-
Step 5: What happens when a linear actuator fails (and why it matters before you rebuild)
-
Step 6: Make a timeline and a backup plan
-
Common mistakes I still see
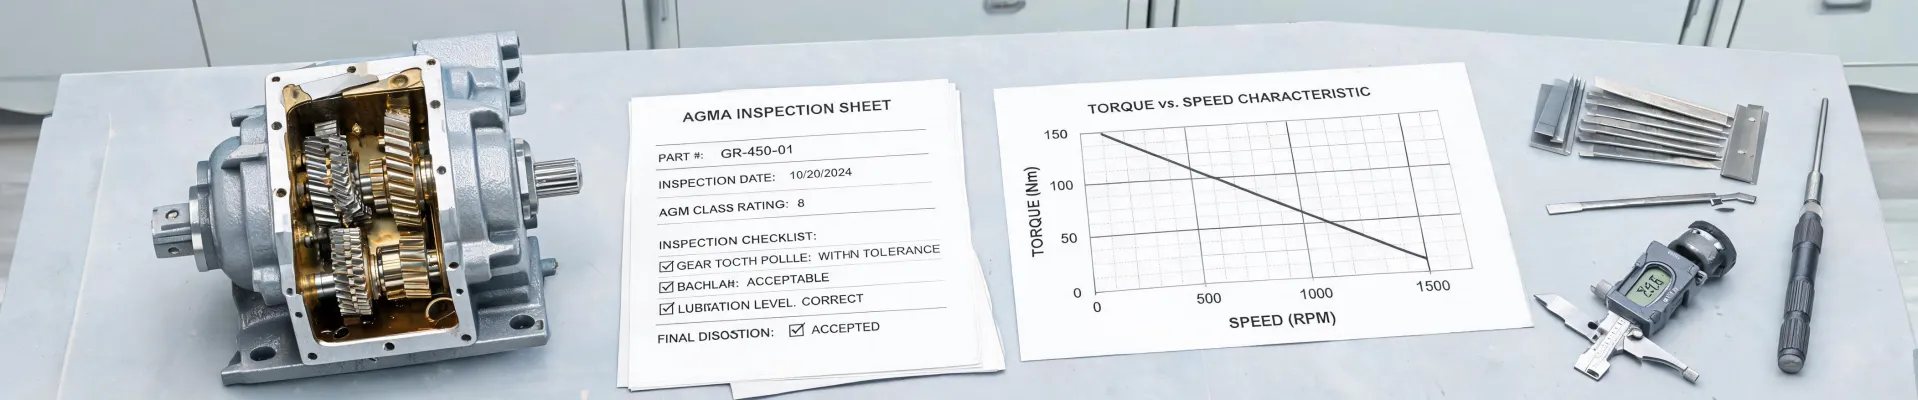
Okay, let’s get this out of the way first. If you typed “boston bruins fan gear” into Google, this is not that. That’s about hockey jerseys, and I can’t help you there. And if you were looking for “acid reducers” for your stomach, that’s not this either. This is about Boston Gear, the motion control company, and the mechanical kind of speed reducer. Specifically, the Boston Gear 700 series rebuild kit.
If you’ve got a 700 series reducer on a line that’s making noise, leaking oil, or stopped altogether, here’s what you need to know: the rebuild kit is only part of the job. In my role coordinating emergency repair parts for packaging plants, I’ve handled 200+ rush rebuilds over 12 years. This is the checklist I run before I order anything.
Here’s the short version: six steps. Nothing fancy, but skipping any of them will cost you time or money.
Step 1: Confirm the exact model number, not the description
Every 700 series reducer has a nameplate. Find it. If it’s painted over, scrape it carefully and take a photo with a flashlight.
- Model number
- Ratio
- Input and output shaft sizes
- Mounting position
A 50:1 reducer and a 60:1 reducer can look identical from the outside. The only difference is the nameplate—or the internal part, once it’s on your bench. I once told a junior tech to “grab the kit for the mixer reducer.” He heard “grab any 700 series kit.” We got the right box, wrong ratio. That was a wasted day.
Step 2: Measure before you trust the catalog
Boston Gear has been around since 1877, and the 700 series has been through a lot of variations. Even with a clean nameplate, don’t just trust the catalog. Other maintenance teams may have left their mark (and not in a good way).
Get a caliper and verify shaft diameter, keyway width, mounting hole spacing, output shaft length, and input shaft rotation direction. I learned this in 2020, and it’s still true: what’s on the drawing isn’t always what’s on the machine.
Also, as of Q1 2025, prices and part numbers change. Verify current kit contents before you order, not after.
Step 3: Document the failure mode before buying parts
Before you order a rebuild kit, ask what actually failed. A leak, a noise, and a locked-up reducer are three different animals.
- Oil leaking around a shaft usually means a worn seal, maybe a scored shaft.
- Whining or grinding means bearings, gear teeth, or both.
- Excessive shaft play means worn bearings, or worse, a worn housing bore.
- Locked up means a broken gear tooth or something jammed in the mesh.
Here’s the thing nobody says at the beginning: a basic rebuild kit won’t fix a cracked housing or a broken gear. If the housing bore is worn, new bearings will still be loose. Sometimes the honest move is a new speed reducer, not a kit.
Step 4: Drain the oil and look for clues
This is the step most people skip when the line is down. I get it. But the oil tells you what’s happening inside without a full teardown.
Drain a small amount into a clean container and look at it. Clear amber oil means the damage is probably contained. Silver metallic sludge means bearings are wearing. Brass or gold flakes often mean the worm wheel is going. Solid chunks mean gear damage, and you should cancel the kit order and price a replacement.
A facility I worked with once saved $40 on an aftermarket seal, then spent $2,800 on a replacement reducer when the seal let the oil out and the unit ran dry. That “budget” choice looked smart until it wasn’t. Sometimes cheap is just expensive in disguise.
Step 5: What happens when a linear actuator fails (and why it matters before you rebuild)
This step is easy to skip under time pressure. If the reducer drives a linear actuator, inspect the actuator before you tear down the reducer.
So, what happens when a linear actuator fails? Usually it’s a slow, noisy decline, not a dramatic crash. It starts hesitating at one point in the stroke. It makes more noise on the return stroke. The motor draws more current, which you can feel as heat. Then it begins to stall, resets, and finally jams.
A jamming actuator sends a shock load backward through the coupling. That can shear a key or crack a gear tooth. In 2023, we rebuilt a 700 series reducer twice before someone checked the actuator at the other end of the machine. It had a bad thrust bearing. The reducer wasn’t the problem; it was the victim.
Before you order a kit, disconnect the load and move the actuator end-to-end by hand. If it catches or scrapes, fix that first. Otherwise, your new rebuild kit is just a temporary patch.
Step 6: Make a timeline and a backup plan
Standard part delivery is usually 3-5 business days. Rush freight exists, but it is not free. In March 2024, I paid $180 in overnight shipping for a 700 series rebuild kit. That hurt until I remembered the line was down at $14,000 an hour after the first hour. You do the math.
I had 45 minutes to make that call, and I went with a distributor I trusted because there was no time to compare three options. In hindsight, I should have had that relationship in place months earlier. We got lucky.
Also, read the kit contents. Many rebuild kits include bearings, seals, and gaskets. They do not always include the key, coupling, or oil. If you need those, order them now. Do not wait until the housing is open.
Common mistakes I still see
- Ordering by “same as what’s on it” without taking a photo of the nameplate. Don’t.
- Reusing old seals because they “look fine.” They don’t.
- Skipping the housing flush. Metal chips from a failed bearing will ruin new bearings fast.
- Ignoring keyway wear. A loose key can destroy a new reducer in a few hours.
Here’s the honest summary for 2025: the fundamentals haven’t changed much. Gears still wear. Bearings still fail. Oil still matters. What has changed is how fast you can get a Boston Gear 700 series rebuild kit and how easy it is to double-check part numbers online. The old best practice—measure everything, call around for parts, wait a week—has been replaced by better execution. But the inspection work is still on you.
Trust me on this one. A little prep before a failure costs way less than an emergency order after one.

Elena Markovic
Elena Markovic is an independent industrial motor and drive systems analyst covering induction motors, servo motors, stepper motors, and variable-frequency drives. She examines IEC 60034-30-1 efficiency classes, IEC 61800-9-2 drive-system losses, speed-torque curves, duty cycles, thermal limits, and feedback compatibility across operating envelopes. Her evidence-led guides help OEM engineers and plant teams select efficient motion packages, plan integration, and reduce commissioning risk.